Step 1: Ink
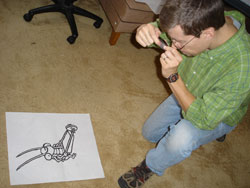
 All the pictures in Bean Thirteen began as big paintings. I used large sheets of newsprint paper, a thick brush, and black India ink.
I drew the pictures big because I wanted them to look loose and full of energy.
Step 2: Into the computer
I painted each picture several times, then picked the best one.
If the picture was small enough, I put it on my scanner. If it was big, I took a digital picture of it.
Step 3: Photoshop
Using Adobe Photoshop, I cleaned up each picture. I erased any mistakes and smoothed out all the lines.

Step 4: Illustrator
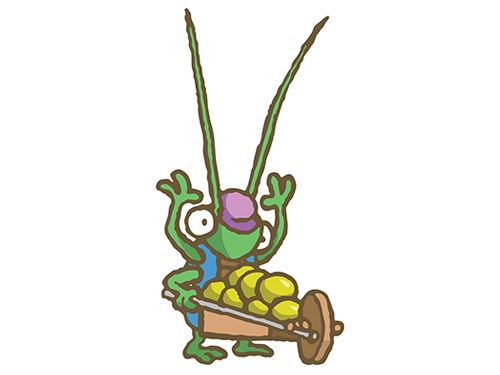
The last step was to bring all the drawings into Adobe Illustrator. There, I added color and arranged everything on the page.
If you want to see how I did it step-by-step, click on the picture below.(Requires Adobe Flash Player.)
[kml_flashembed publishmethod=”static” fversion=”8.0.0″ movie=”/flashtest/drawing-bean-13.swf” width=”500″ height=”375″ targetclass=”flashmovie”]
[/kml_flashembed]
Each drawing took about a week. When they were all finished, I sent the files down to the publisher to be assembled into the final book.